一、LNMP的安装
使用putty或类似的SSH工具登陆VPS或服务器;
登陆后运行:screen -S lnmp
如果提示screen: command not found 命令不存在可以执行:yum install screen 或 apt-get install screen安装,详细内容参考screen教程。
##先要下载,并根据不同系统进行安装:
wget -c http://www.smallcolor.link/wjian/linux/lnmp1.3.tar.gz
tar zxvf lnmp1.3.tar.gz
cd lnmp1.3
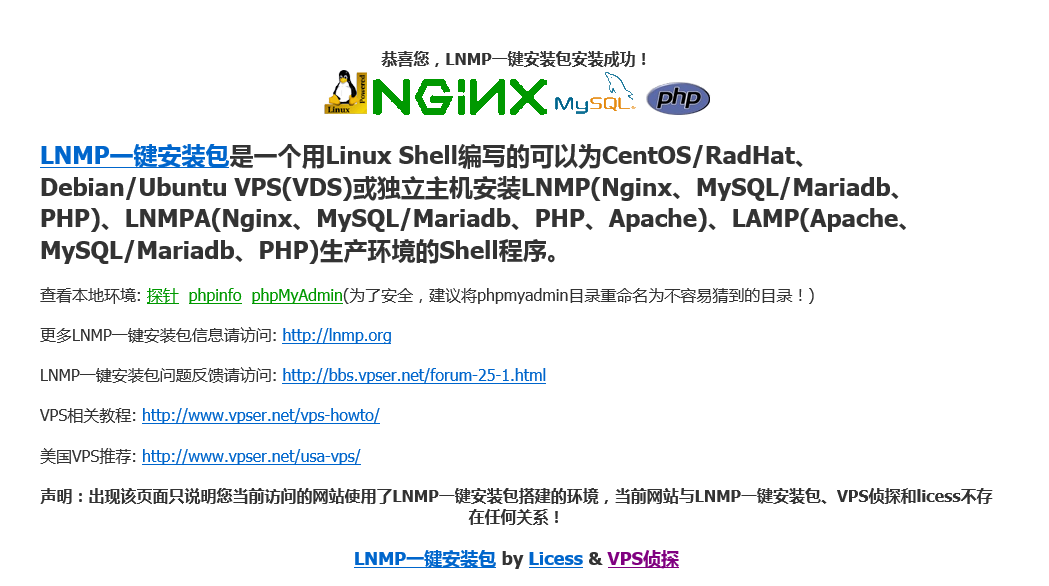
./install.sh #开始进行安装操作
以上为下载及进入安装过程,以下为安装前简易设置,切记输入个其它域名及牢记mysql密码:
+------------------------------------------------------------------------+
| LNMP V1.3 for CentOS Linux Server, Written by Licess |
+------------------------------------------------------------------------+
| A tool to auto-compile & install LNMP/LNMPA/LAMP on Linux |
+------------------------------------------------------------------------+
| For more information please visit http://www.lnmp.org |
+------------------------------------------------------------------------+
Please setup root password of MySQL.(Default password: root)
Please enter: 123456789 #输入mysql的root密码
MySQL root password: 123456789
===========================
Do you want to enable or disable the InnoDB Storage Engine?
Default enable,Enter your choice [Y/n]: n #是否安装InnoDB
You will disable the InnoDB Storage Engine!
===========================
You have 5 options for your DataBase install.
1: Install MySQL 5.1.73
2: Install MySQL 5.5.48 (Default)
3: Install MySQL 5.6.29
4: Install MariaDB 5.5.48
5: Install MariaDB 10.0.23
6: Install MySQL 5.7.11
Enter your choice (1, 2, 3, 4, 5 or 6): 1 #选择mysql版本,我内存小所以选择1
You will install MySQL 5.5.48
===========================
You have 6 options for your PHP install.
1: Install PHP 5.2.17
2: Install PHP 5.3.29
3: Install PHP 5.4.45 (Default)
4: Install PHP 5.5.36
5: Install PHP 5.6.22
6: Install PHP 7.0.7
Enter your choice (1, 2, 3, 4, 5 or 6): 1 #选择php版本,我内存小所以选择1
You will Install PHP 5.2.17
===========================
You have 3 options for your Memory Allocator install.
1: Don't install Memory Allocator. (Default)
2: Install Jemalloc
3: Install TCMalloc
Enter your choice (1, 2 or 3): 2 #2-3是内存优化,1是不用优化。
You will install JeMalloc
#按任意键,设置完成,正式进入安装,预计20-40分钟完成
常见lnmp管理命令:
#1.2版本以后,不需要再执行/root/lnmp了,可以在任意位置执行lnmp命令
lnmp #会出现一些提示信息
lnmp restart #重启
lnmp vhost add #添加网站绑定
lnmp database add #添加数据库信息
二,域名绑定详解
其实所谓的域名绑定,就是通过命令的形式,简易创建一个conf文件到/usr/local/nginx/conf/vhost下面,这个过程完全可以手工创建conf,或者,平时修改目录、域名等,直接修改conf文件,效果完全一样:
lnmp vhost add #执行lnmp添加网站命令
+-------------------------------------------+
| Manager for LNMP, Written by Licess |
+-------------------------------------------+
Please enter domain(example: www.lnmp.org): mcolor.tk #输入绑定的主域名
======================================
Your domain: mcolor.tk
======================================
Do you want to add more domain name? (y/n) y #是否绑定其它域名
Enter domain name(example: lnmp.org *.lnmp.org): www.mcolor.tk #输入其它域名
domain list: www.mcolor.tk
Please enter the directory for the domain: mcolor.tk
(Default directory: /home/wwwroot/vpsmm.com): #默认创建的网站文件所在目录
Virtual Host Directory: /home/wwwroot/mcolor.tk
===========================
Allow Rewrite rule? (y/n)
===========================
y #是否添加伪静态文件
Please enter the rewrite of programme:
wordpress,discuz,typecho,sablog,dabr rewrite was exist.
(Default rewrite: other):typecho #我用的typecho程序
===========================
You choose rewrite=typecho
===========================
===========================
Allow access_log? (y/n)
===========================
n #是否启用日志文件
======================================================
Create database and MySQL user with same name (y/n)
======================================================
y #是否创建mysql数据库
verify your current MySQL root password: **** #输入安装时的mysql数据库root密码
Warning: Using a password on the command line interface can be insecure.
MySQL root password correct.
Enter database name: root #创建数据库用户名
Your will create a database and MySQL user with same name: root
Please enter password for mysql user vpsmm_user: 123456
Your password: 123456 #创建相应密码
Press any key to start create virtul host...
Create Virtul Host directory......
set permissions of Virtual Host directory......
You select the exist rewrite rule:/usr/local/nginx/conf/typecho.conf
Gracefully shutting down php-fpm . done
Starting php-fpm done
Test Nginx configure file......
nginx: the configuration file /usr/local/nginx/conf/nginx.conf syntax is ok
nginx: configuration file /usr/local/nginx/conf/nginx.conf test is successful
Restart Nginx......
Warning: Using a password on the command line interface can be insecure.
Warning: Using a password on the command line interface can be insecure.
User vpsmm_user create Sucessfully.
Warning: Using a password on the command line interface can be insecure.
Warning: Using a password on the command line interface can be insecure.
Warning: Using a password on the command line interface can be insecure.
Database: vpsmm_user create Sucessfully.
Warning: Using a password on the command line interface can be insecure.
Warning: Using a password on the command line interface can be insecure.
GRANT ALL PRIVILEGES ON vpsmm_user Sucessfully.
Warning: Using a password on the command line interface can be insecure.
FLUSH PRIVILEGES Sucessfully.
================================================
Virtualhost infomation:
Your domain: vpsmm.com
Home Directory: /home/wwwroot/vpsmm.com
Rewrite: typecho
Enable log: no
Database username: vpsmm_user
Database userpassword: vpsmmpasswd
Database Name: vpsmm_user
Create ftp account: no
#以上为新创建网站的一些信息
================================================